How to Change Siri's Voice to Jarvis: A Step-by-Step Guide
Siri, Apple's virtual assistant, has become an integral part of the iOS ecosystem, providing users with a range of voice-activated features and functionalities. While Siri comes with a default voice, many users are interested in customizing it to add a touch of personalization and uniqueness. In this article, we will guide you through the process of changing Siri's voice to Jarvis, inspired by the iconic artificial intelligence system from the Iron Man movies.
1. Activate Siri:
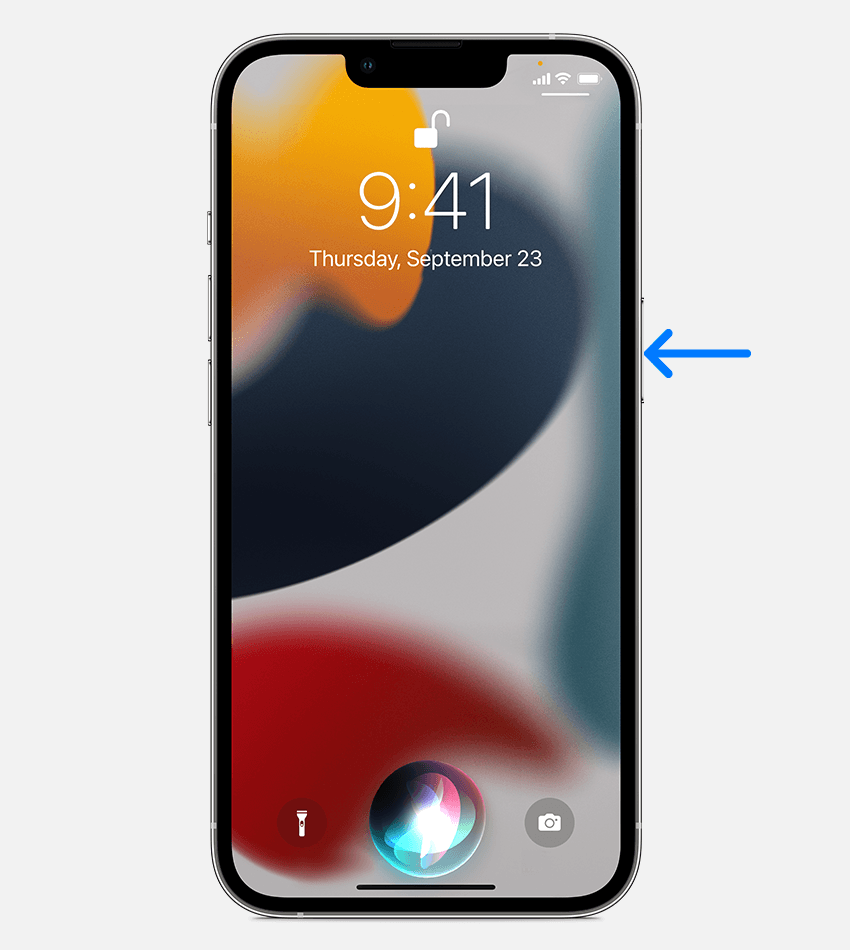
Activate Siri
Begin by activating Siri on your iOS device. You can do this by pressing and holding the home button (or side button on newer devices) or using the "Hey Siri" voice command.
2. Access Siri Settings:
Once Siri is activated, navigate to the "Settings" app on your iOS device's home screen.
3. Find Siri & Search:
In the settings menu, scroll down and tap on the "Siri & Search" option. This is where you can customize Siri's settings.
4. Customize Siri Voice:
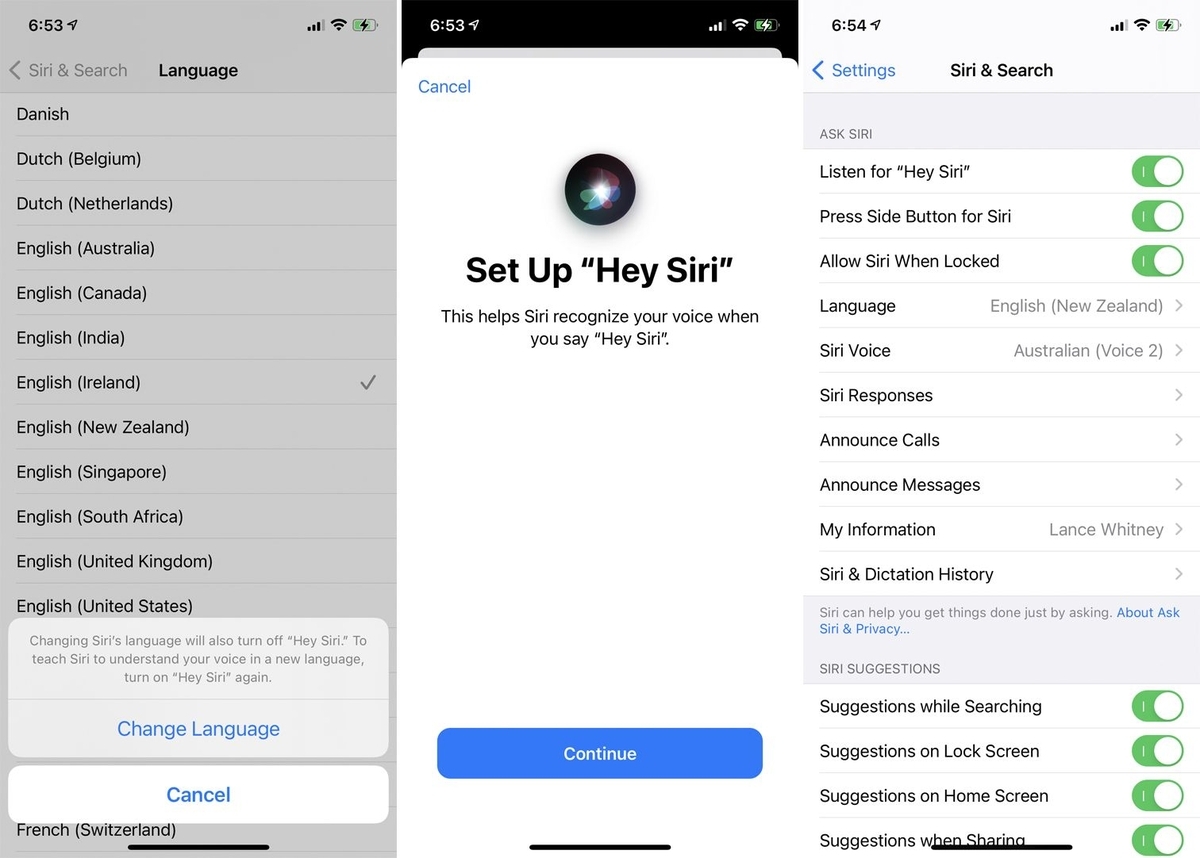
Customize Siri Voice:
Within the Siri & Search menu, locate the "Siri Voice" option. Tap on it to access the available voice options.
5. Select Language and Dialect:
Choose your preferred language and dialect for Siri's voice. Ensure that you select a language and dialect that support the Jarvis voice.
6. Install a Voice Assistant App:
To change Siri's voice to Jarvis, you will need to install a third-party voice assistant app that offers the Jarvis voice. Search for "Jarvis voice assistant" in the App Store and choose an app that suits your preferences.
7. Grant App Permissions:
After installing the voice assistant app, open it and follow the on-screen instructions to grant the necessary permissions. This usually involves allowing the app access to microphone and other relevant features.
8. Configure the Jarvis Voice:
Once the app is installed and permissions are granted, open its settings and navigate to the voice options. Select the Jarvis voice from the available options.
9. Enable Siri Integration:
Within the voice assistant app's settings, look for an option to enable Siri integration. This will allow Siri to use the Jarvis voice for its responses.
10. Test the Jarvis Voice:
Return to the Siri settings in your iOS device's settings menu. Use the "Hey Siri" command or press the home button to activate Siri and test if the Jarvis voice is working correctly.
11. Adjust Settings as Desired:
Explore the voice assistant app's settings to adjust the Jarvis voice's speed, pitch, and other parameters according to your preferences.
12. Enjoy Siri as Jarvis:
With the settings configured and the Jarvis voice activated, you can now interact with Siri and enjoy the unique experience of hearing Jarvis's voice for your virtual assistant.
By following these steps, you can change Siri's voice to Jarvis, bringing a touch of excitement and personalization to your iOS device. Customizing Siri's voice allows you to have a unique and engaging virtual assistant experience. Remember to explore different voice assistant apps to find the one that offers the best Jarvis voice and desired features. Enjoy the immersive experience of having Jarvis's voice as your Siri companion!