How to Make a Minibike in 7 Days to Die: A Comprehensive Guide
7 Days to Die is a popular survival horror video game that offers a thrilling zombie apocalypse experience. One of the most sought-after features in the game is the minibike, a crucial means of transportation to explore the vast open world efficiently. In this guide, we will provide a step-by-step tutorial on how to make a minibike in 7 Days to Die within the shortest possible time frame of seven in-game days. Let's get started!
1. Section 1: Gathering Resources
Gathering Resources
Before embarking on your minibike crafting journey, you must gather essential resources to ensure a smooth construction process. Here's a list of items you'll need:
- Mechanical Parts
- Forged Iron
- Duct Tape
- Short Iron Pipe
- Electrical Parts
- Acid
- Oil
- Polymer
2. Section 2: Step-by-Step Crafting Process
Step-by-Step Crafting Process
Step 1: Obtaining Mechanical Parts
Mechanical Parts can be found in various locations, such as cars, air conditioners, and other mechanical devices.
Search for these items in towns, cities, and industrial areas.
Step 2: Acquiring Forged Iron
To make Forged Iron, you'll need a Forge, which can be crafted using small stones, clay, and a Short Iron Pipe.
Gather Iron Ore from boulders and smelt it in the Forge to obtain Forged Iron.
Step 3: Crafting Duct Tape
Duct Tape can be crafted using Cloth Fragments and Glue.
Loot Cloth Fragments from curtains, couches, or mattresses, and find Glue in various loot containers.
Step 4: Gathering Short Iron Pipe
Short Iron Pipes can be found in sinks, radiators, and other plumbing-related loot containers.
Scour buildings for these items and remember to use a wrench for better yields.
Step 5: Acquiring Electrical Parts
Electrical Parts can be found in working stiffs crates, toolboxes, and electronic devices.
Cities and towns are prime locations to discover these items.
Step 6: Obtaining Acid
Acid can be found in batteries, car batteries, and certain acid-related containers.
Check garages and industrial areas for the best chances of finding Acid.
Step 7: Gathering Oil
Oil is obtained from oil shale nodes, which are found underground.
Use a pickaxe to mine oil shale, and then smelt it in the Forge to get Oil.
Step 8: Acquiring Polymer
Polymer can be found in various loot containers, especially medical supplies and certain mechanical devices.
Hospitals and pharmacies are excellent places to search for Polymer.
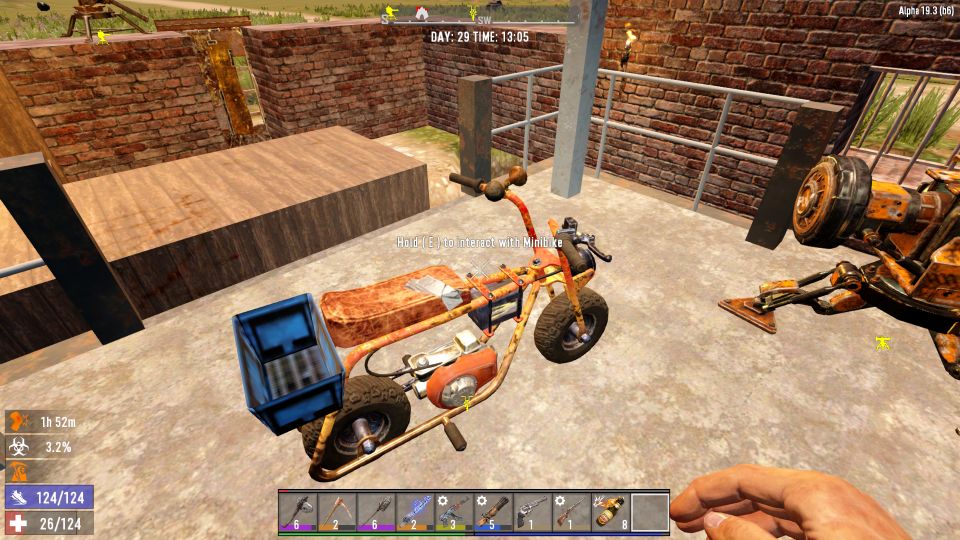
3. Section 3: Crafting the Minibike
Once you've gathered all the necessary resources, it's time to craft your minibike. Follow these steps:
Open your inventory and access the Crafting Menu.
Select "Vehicles" from the Crafting Menu.
Locate the minibike icon and click on it to craft.
4. Section 4: Tips and Tricks
To optimize your minibike crafting process, consider the following tips:
Plan your resource gathering route to maximize efficiency.
Prioritize visiting towns, cities, and industrial areas for loot.
Bring a wrench to improve your chances of obtaining valuable items.
Travel with a bicycle early in the game to explore areas quickly.
Use the minibike to travel long distances and save time.
Crafting a minibike in 7 Days to Die is an exciting and rewarding experience. By following the step-by-step guide and implementing the tips provided, you'll be cruising through the post-apocalyptic world with ease. Remember that resource gathering is essential, so be diligent in your search for the required materials. Happy minibike crafting, survivor!