How to Screenshot on Moto G Stylus: A Comprehensive Guide
The Moto G Stylus is a popular smartphone that offers a convenient stylus for precise input and creativity. One common task that many users often need assistance with is taking screenshots. In this article, we will provide you with a comprehensive guide on how to screenshot on Moto G Stylus, step by step.
I. Understanding the Basics of Screenshotting:
Before diving into the specifics of taking screenshots on the Moto G Stylus, it's essential to understand the basic concept. A screenshot is a captured image of your device's screen, allowing you to save and share what you see.

Screenshotting
II. Method 1: Using Hardware Buttons:
The Moto G Stylus provides a simple and straightforward method to capture screenshots using its hardware buttons. Follow these steps:
- Step 1: Locate the desired content on your Moto G Stylus screen that you want to capture.
- Step 2: Simultaneously press and hold the Power button and the Volume Down button.
- Step 3: Hold both buttons for a few seconds until you see the screen flash or hear a camera shutter sound.
- Step 4: The screenshot will be saved in your device's gallery, ready for viewing and sharing.
III. Method 2: Using the Moto Actions Feature:
Motorola smartphones come with a set of pre-installed features called Moto Actions, which provide additional functionalities. Follow these steps to take a screenshot using Moto Actions:
- Step 1: Enable Moto Actions on your Moto G Stylus if you haven't done so already.
- Step 2: Open the desired content or screen you want to capture.
- Step 3: Hold the stylus near the screen and wait for the on-screen menu to appear.
- Step 4: Tap on the "Screen Write" option to capture a screenshot.
- Step 5: The screenshot will be saved in your device's gallery.
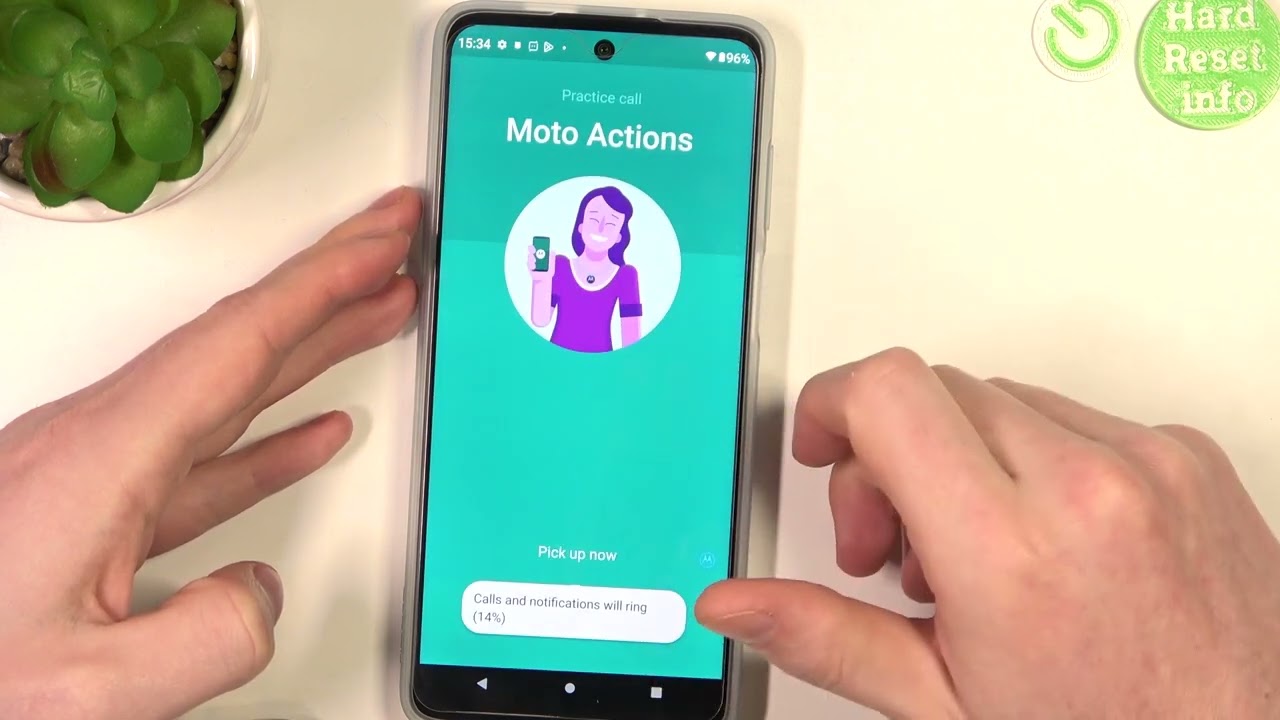
Using the Moto Actions Feature
III. Method 3: Using Third-Party Apps:
If you prefer more advanced screenshotting options, you can explore third-party apps available on the Google Play Store. Here's how you can use a third-party app to take screenshots:
- Step 1: Open the Google Play Store on your Moto G Stylus.
- Step 2: Search for "screenshot app" or a similar keyword in the search bar.
- Step 3: Choose a reputable app from the search results and install it on your device.
- Step 4: Follow the app's instructions to take screenshots using its features.
IV. Editing and Sharing Screenshots:
Once you have successfully taken a screenshot on your Moto G Stylus, you may want to edit or share it with others. Here are some additional tips:
- Editing: Use the built-in gallery app or third-party editing apps to crop, annotate, or add filters to your screenshots.
- Sharing: Share your screenshots via social media platforms, messaging apps, or email. You can also transfer them to your computer using USB or cloud storage.
V. Conclusion:
Taking screenshots on your Moto G Stylus is a simple process that can be done using hardware buttons, Moto Actions, or third-party apps. With this comprehensive guide, you can now easily capture and share what's on your screen. Remember to explore additional features, such as editing and sharing, to enhance your screenshotting experience.