How to Make a Copy of a Kami Document: Step-by-Step Guide
Kami is a popular online document annotation and collaboration platform that allows users to work with PDFs, images, and other file formats. Making a copy of a Kami document is a useful feature when you want to preserve the original document while making changes or annotations on a separate version. In this article, we will provide you with a step-by-step guide on how to make a copy of a Kami document, ensuring that you can easily duplicate and work with your files without altering the original. Let's get started!
Make a copy of a kami document
1. Accessing Kami:
a. Launch Kami: Open your web browser and navigate to the Kami website (www.kamiapp.com).
b. Sign in: Log in to your Kami account using your credentials or sign up for a new account if you don't have one already.
2. Opening the Document:
a. Upload the Document: Once you're logged in, click on the "Open" button in the top left corner of the Kami interface.
b. Select the Document: Choose the Kami document you want to make a copy of from your computer or cloud storage.
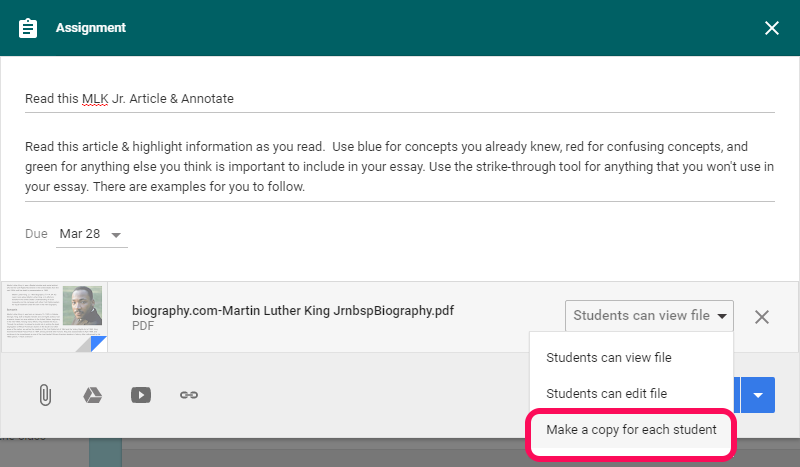
3. Making a Copy:
a. Create a Duplicate: With the document open in Kami, click on the "File" menu at the top of the screen.
b. Select "Make a Copy": In the drop-down menu, choose "Make a Copy" to create a duplicate of the document.
4. Renaming the Copy:
a. Rename the Copy: After making a copy, the duplicated document will have the same name as the original with "(Copy)" appended to it.
b. Edit the Document Name: To avoid confusion, click on the document name at the top of the Kami interface and rename it to something meaningful or descriptive.
5. Working with the Copy:
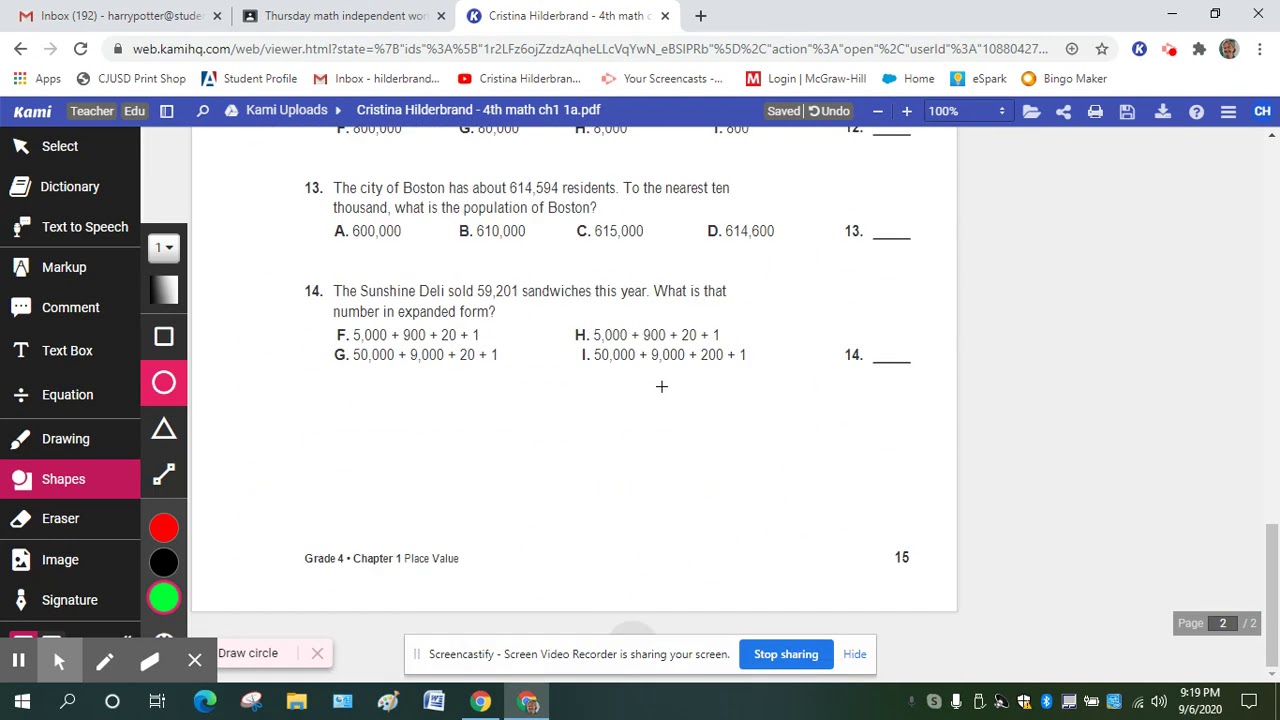
a. Differentiate the Documents: To distinguish between the original document and the copy, consider using different colors, fonts, or annotations within Kami.
b. Annotating the Copy: Utilize Kami's annotation tools to highlight, underline, add text, or make any desired changes to the copy of the document.
6. Saving and Storing the Copy:
a. Saving Changes: Kami automatically saves changes made to the document in real-time. However, it is always good practice to manually save the document by clicking on the "Save" button periodically.
b. Cloud Storage Integration: If you want to store the copy of the Kami document in a cloud storage service, such as Google Drive or Dropbox, click on the "Save" button and select the desired cloud storage option.
7. Accessing the Original Document:
a. Return to Document List: To access the original document or other Kami documents, click on the "Documents" icon in the top left corner of the Kami interface.
b. Select the Original Document: From the document list, locate and click on the original document you want to view or edit.
Kami is a popular online document annotation
Making a copy of a Kami document is a straightforward process that allows you to preserve the original while working with a duplicate version. By following the steps outlined in this guide, you can easily create a copy, rename it, and make any necessary changes or annotations without altering the original document. Remember to save your changes regularly and consider utilizing Kami's annotation tools to differentiate between the original and the copy. Enjoy the flexibility and convenience of working with duplicated Kami documents while keeping your original files intact!