How to Rename Your AirPods: A Step-by-Step Guide
Apple's AirPods are incredibly popular wireless earbuds known for their seamless integration with iOS devices. One convenient feature of AirPods is the ability to rename them, which makes it easier to identify and connect to them when using multiple Apple devices. In this guide, we'll walk you through the simple steps to rename your AirPods.
1. Why Rename Your AirPods?

AirPods
You might be wondering why you'd want to bother renaming your AirPods. There are several good reasons:
Easy Identification: If you own multiple pairs of AirPods or frequently use them with different devices, renaming can help you quickly identify which AirPods you want to connect to.
Personalization: Renaming your AirPods allows you to give them a unique and personalized name, adding a touch of individuality to your tech accessories.
Simplicity: If you have trouble remembering which AirPods belong to you, especially in a household or office with multiple sets, renaming them can eliminate confusion.
2. Here's How to Rename Your AirPods:
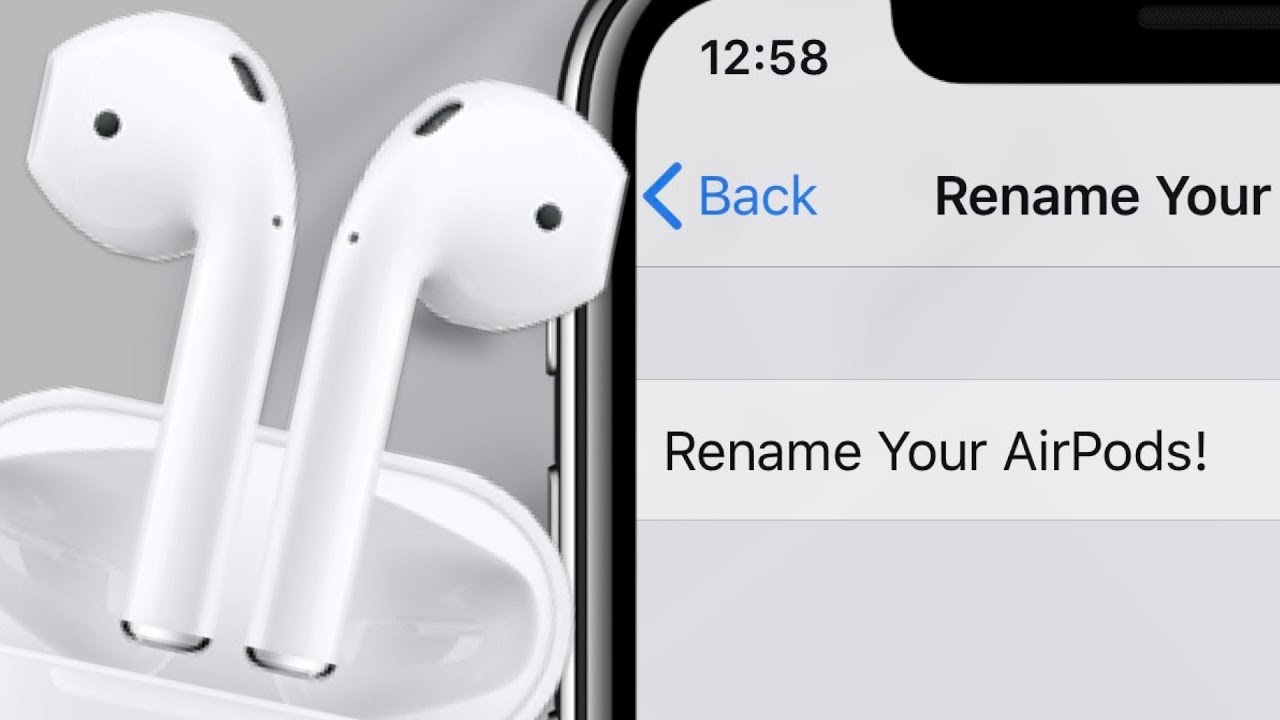
Rename Your AirPods
Step 1: Ensure Your AirPods Are Connected
Before you start the renaming process, make sure your AirPods are connected to your iOS device. They should be in your ears and paired with your iPhone, iPad, or iPod Touch.
Step 2: Open the Bluetooth Settings
Open the "Settings" app on your iOS device.
Scroll down and tap on "Bluetooth."
Step 3: Find Your AirPods
Under the "My Devices" section in the Bluetooth settings, you should see your AirPods listed with their default name (usually something like "[Your Name]'s AirPods"). Tap on them.
Step 4: Rename Your AirPods
In the AirPods settings, you'll see the current name listed at the top. Tap the small "i" icon next to the name.
In the "Name" field, you can now enter the new name you want for your AirPods. Be creative and pick something that's easy to remember.
After entering the new name, tap "Done" on the keyboard.
Step 5: Confirm the Change
To ensure that your new AirPods name is saved, exit the settings. Your AirPods should now be renamed and will appear with their new name on all your connected devices.
3. Tips for Renaming Your AirPods
Keep the name concise and easy to remember.
Avoid using special characters or emojis, as they might cause issues with connectivity.
Ensure your AirPods are charged and connected before attempting to rename them.
You can also rename your AirPods on a Mac that's signed in with the same Apple ID by going to "System Preferences" > "Bluetooth."
Renaming your AirPods is a simple yet useful customization that can enhance your overall experience with these wireless earbuds. Whether you're streamlining your device connections or just adding a personal touch, following these steps will help you make your AirPods uniquely yours.