Mastering Tileset Importing in RPG Maker VX Ace: A Comprehensive Guide
RPG Maker VX Ace is a popular game development platform that empowers creators to craft their own unique worlds. A crucial aspect of game design in RPG Maker is working with tilesets, which serve as the foundation for creating maps and environments. In this article, we'll provide a step-by-step guide to help you master the art of importing tilesets in RPG Maker VX Ace.
1. Introduction: The Role of Tilesets in RPG Maker VX Ace
Role of Tilesets
Before we dive into the intricacies of importing tilesets, let's understand their importance in the game development process.
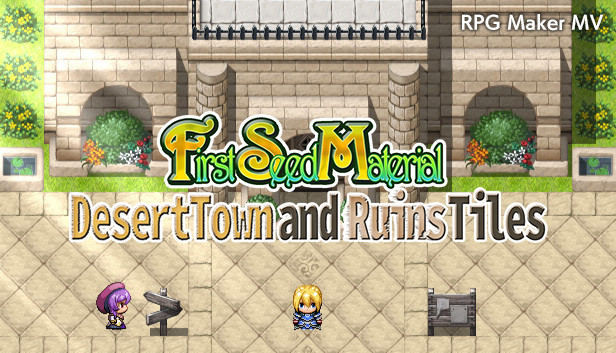
Tilesets are collections of images used to create the visual elements of your game's maps and scenes, encompassing everything from terrains to structures.
2. Preparing Your Tileset: Organizing and Choosing Graphics
Before importing a tileset, ensure you have the necessary graphics files.
These typically include images for ground textures, walls, objects, and more. Organize your graphics to easily locate and import them into RPG Maker.
3. Tileset Formats: Compatible Image Types
RPG Maker VX Ace supports common image formats such as PNG, BMP, and JPEG. Ensure your tileset graphics are in a compatible format before proceeding with the import.
4. Accessing the Database: Navigating RPG Maker VX Ace
Open RPG Maker VX Ace and access the "Database."
This is where you'll define and manage various game elements, including tilesets. Within the database, locate the "Tilesets" tab.
5. Creating a New Tileset: Adding a Visual Element
Visual Element
To import a new tileset, you'll need to create a tileset entry in the database.
This entry will define the visual appearance of the tileset in your game.
6. Graphic Import: Adding Your Tileset Images
Within the tileset entry, locate the "Tileset Graphic" section. Here, you'll import your tileset images.
RPG Maker VX Ace allows you to assign different images to specific tileset categories, such as ground tiles, autotiles, and more.
7. Autotiles and Animations: Understanding Special Tiles
Autotiles are a unique feature in RPG Maker that enable seamless tiling patterns.
To import autotiles, designate specific sections of your tileset image as autotile patterns.
Additionally, you can import animated tiles for effects like flowing water or flickering torches.
8. Tileset Configuration: Defining Passabilities and Attributes
Each tile in your tileset can have attributes such as passability, terrain tags, and more.
Configure these attributes within the "Tileset Passages" section of the database. This step is crucial for designing interactive maps.
9. Map Creation: Applying Your Tileset to Maps
With your tileset imported and configured, you're ready to use it in map creation.
Open the map editor in RPG Maker VX Ace and select your imported tileset from the dropdown menu.
10. Testing and Tweaking: Refining Your Design
As you create maps using your imported tileset, test the gameplay experience.
Adjust attributes, passabilities, and other elements as needed to ensure your game world is engaging and functional.
In conclusion, importing tilesets in RPG Maker VX Ace is an essential skill for crafting immersive game environments. By understanding the basics of organizing graphics, choosing compatible formats, and navigating the database, you can confidently import and configure tilesets to match your creative vision. Whether you're designing sprawling landscapes or intricate interiors, mastering tileset importing allows you to breathe life into your RPG Maker game and transport players to the world you've meticulously crafted.