How to Remove an Ink Tag from Clothes: A Comprehensive Guide
Finding an ink tag attached to your newly purchased clothes can be frustrating. Ink tags are security devices used by retailers to prevent theft. If not removed properly at the checkout counter, these tags can cause ink stains and damage to your clothing. In this article, we will provide you with a step-by-step guide on how to remove an ink tag from clothes safely and effectively, ensuring your garments remain intact and ink-free.
How to remove ink tag from clothes?
1. Understanding Ink Tags:
a. Security Devices: Ink tags are anti-theft devices commonly used by retailers to protect their merchandise from shoplifting.
b. Ink Explosive: Ink tags contain a small vial of ink that bursts if tampered with, leaving an indelible stain on the clothing.
2. Importance of Proper Removal:
a. Preventing Damage: Removing the ink tag correctly is essential to avoid ink spills and damage to your clothes.
b. Residue-Free: Proper removal ensures that no residual ink or adhesive is left behind on the fabric.
3. Before Attempting Removal:
a. Check for Tags: Inspect your newly purchased clothes to ensure no ink tags have been left on them.
b. Return to the Store: If you find an ink tag, consider returning to the store to have it removed professionally.
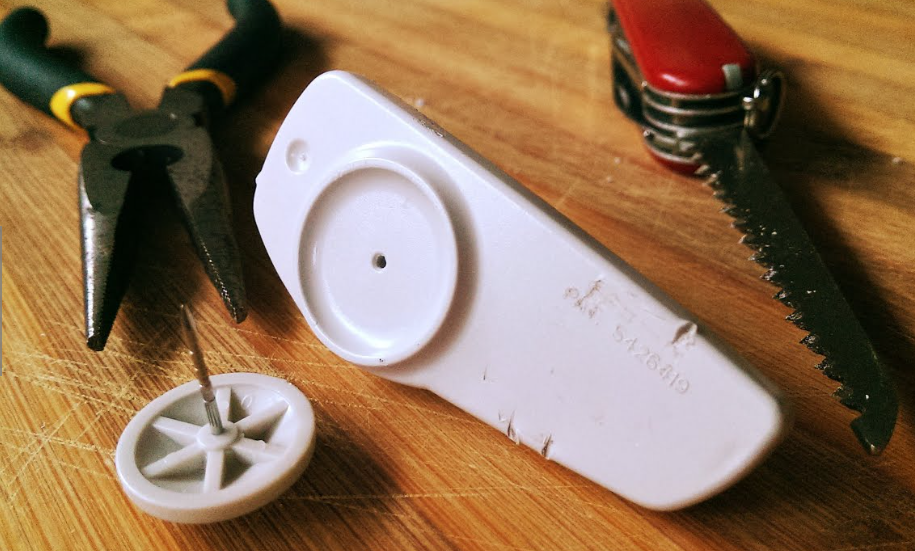
4. Necessary Tools:
a. Rubber Bands: You will need several rubber bands for this removal method.
b. Needle-Nose Pliers: Needle-nose pliers will help with the removal process.
5. Step-by-Step Guide for Removal:
a. Step 1: Gather Materials: Get rubber bands and needle-nose pliers ready for the removal process.
b. Step 2: Isolate the Ink Tag: Locate the ink tag on the clothing and ensure it is separated from other fabrics.
6. Applying Rubber Bands:
a. Step 3: Wrap Rubber Bands: Take two or three rubber bands and wrap them tightly around the base of the ink tag.
b. Step 4: Secure the Pliers: Use the needle-nose pliers to grip the top of the ink tag securely.
7. Twisting and Pulling:
a. Step 5: Twist and Pull: While holding the ink tag with the pliers, start twisting it in a continuous motion.
b. Step 6: Keep Twisting: Continue twisting until the ink tag separates from the pin that holds it in place.
8. Cleaning Residue:
a. Step 7: Check for Ink Spills: Inspect the clothing to ensure there are no ink spills or stains.
b. Step 8: Remove Adhesive Residue: If there is adhesive residue, use a specialized adhesive remover or rubbing alcohol to clean it.
8. Alternative Methods:
a. Store Assistance: Seek professional help from the store where you made the purchase.
b. Contact the Manufacturer: Contact the clothing manufacturer for advice on safe tag removal.
9. Ink Spill Prevention:
a. Over a Garbage Bin: If ink spills occur, ensure you are over a garbage bin to catch any ink droplets.
b. Old Newspaper: Lay down old newspapers to protect the surface while removing the ink tag.
10. Precautions and Warnings:
a. Caution: Be careful not to puncture the ink vial while removing the ink tag.
b. Seek Professional Help: If unsure about the removal process, consult a professional to avoid damaging your clothes.
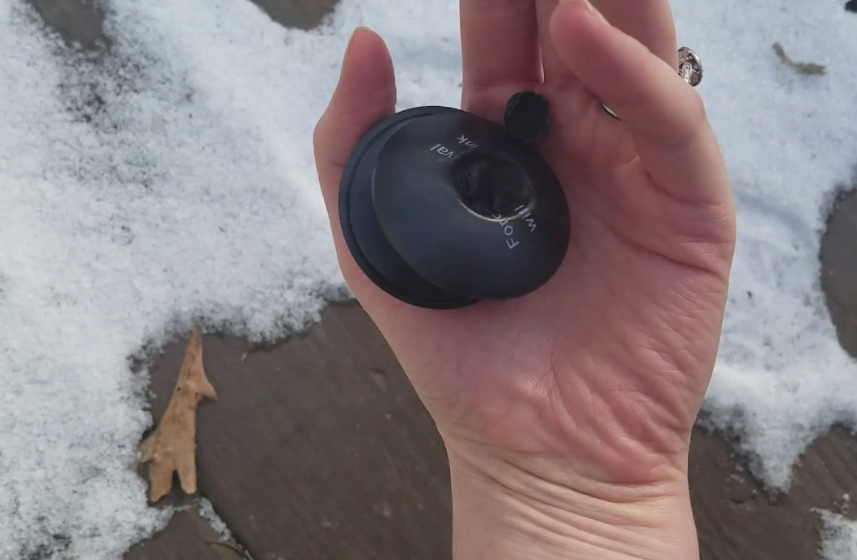
Ink tag from clothes
Removing an ink tag from clothes can be a delicate task that requires attention and care. Following the step-by-step guide mentioned above will help you safely remove ink tags without causing damage to your garments. Remember to take necessary precautions and seek professional assistance if needed. With the right approach, you can successfully remove ink tags and preserve the integrity of your clothes, ensuring they remain ink-free and ready to be worn without any unwanted surprises.