How to Detach Audio from Video in Sony Vegas: A Step-by-Step Guide
Sony Vegas is a popular video editing software that offers a plethora of features to create stunning videos. One essential skill for video editors is detaching audio from video, allowing them to work with audio and video tracks separately. In this comprehensive guide, we will walk you through the process of detaching audio from video in Sony Vegas. Follow the steps below to master this technique and enhance your video editing capabilities.
I. Understanding Audio and Video Tracks in Sony Vegas
Before we delve into the process, it's essential to grasp the concept of audio and video tracks in Sony Vegas. Each imported media file is separated into two tracks: video and audio. Detaching these tracks will enable us to edit them independently.
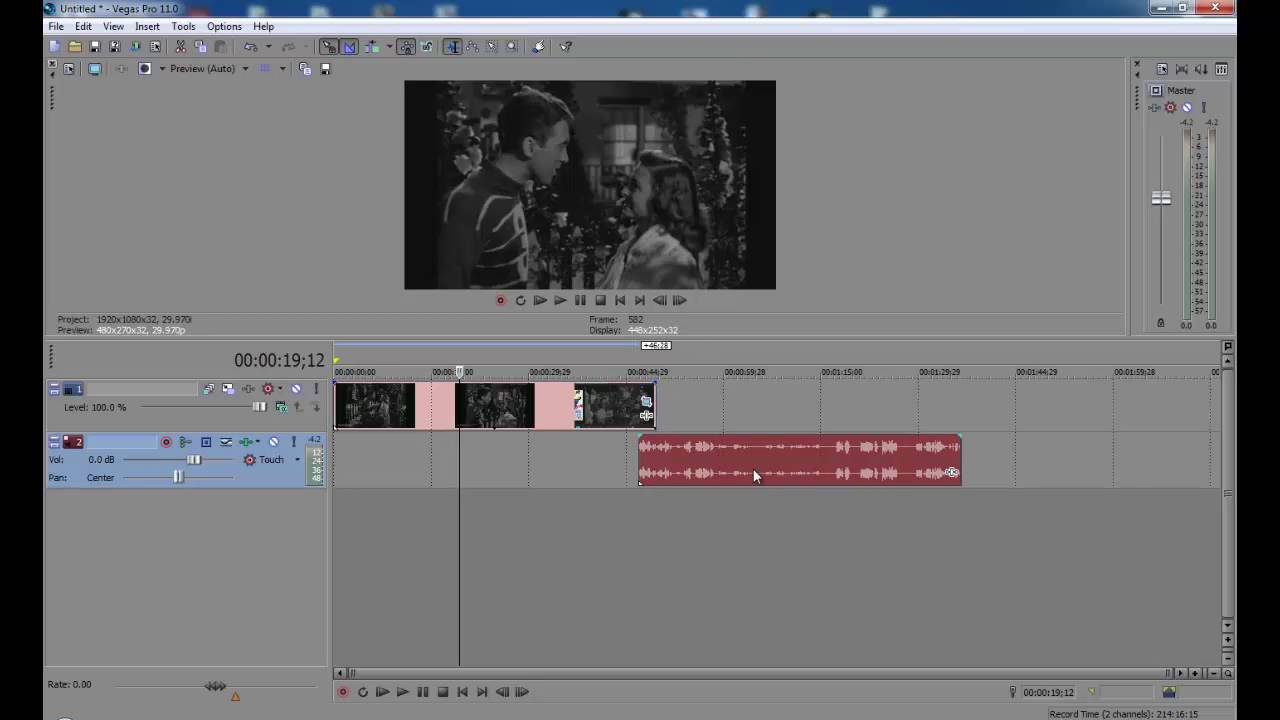
Audio and Video Tracks in Sony Vegas
II. Importing Media Files
To get started, launch Sony Vegas and import the video file you want to work with. Go to "File" > "Import" and select your video from the desired location. The video will appear on the timeline, and its associated audio track will be visible as well.
III. Creating a Backup
Before making any modifications, it's wise to create a backup of your original video file. Right-click on the media file in the Project Media tab and choose "Create Video Proxy" to generate a duplicate copy. This step ensures that you can revert to the original version if needed.
IV. Selecting the Video Track
On the timeline, locate the video track that corresponds to your imported video. Right-click on it to reveal a drop-down menu and then select "Group" > "Remove from." This action will detach the audio track from the video.
V. Detaching the Audio Track
After removing the video track, you will notice that the audio track remains intact. To detach the audio from the video completely, right-click on the audio track and select "Ungroup." The audio track will now be separated from the video track, and you can edit them independently.
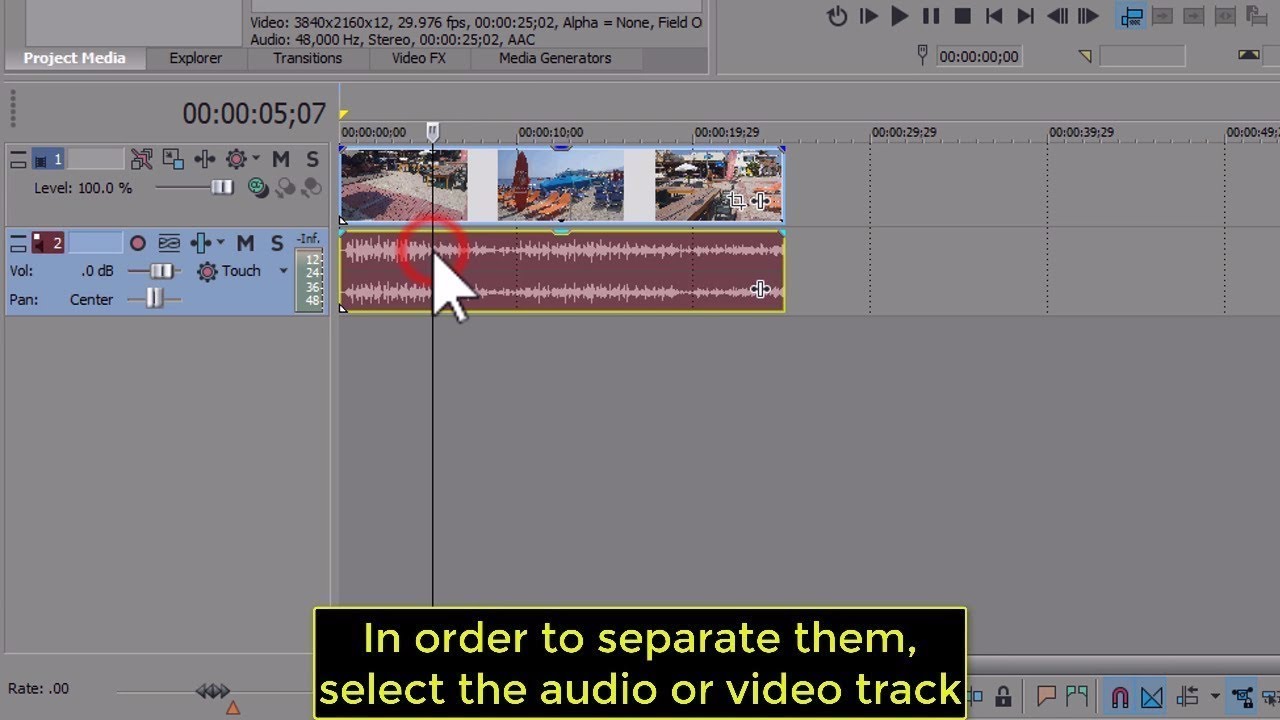
Detaching the Audio Track
VI. Editing Audio and Video Tracks
With the audio and video tracks separated, you can now edit them according to your requirements. Apply various effects, adjust volume levels, or add transitions to the video track without affecting the audio and vice versa.
VII. Managing Transitions
Detaching the audio and video tracks might create gaps between them. To manage transitions smoothly, drag the tracks closer to each other to eliminate any unintended gaps. This step ensures seamless playback.
VIII. Exporting the Edited Video
Once you have made all the necessary changes and are satisfied with the outcome, it's time to export your edited video. Go to "File" > "Render As" and select your desired video format and settings. Save the file to your preferred location on your computer.
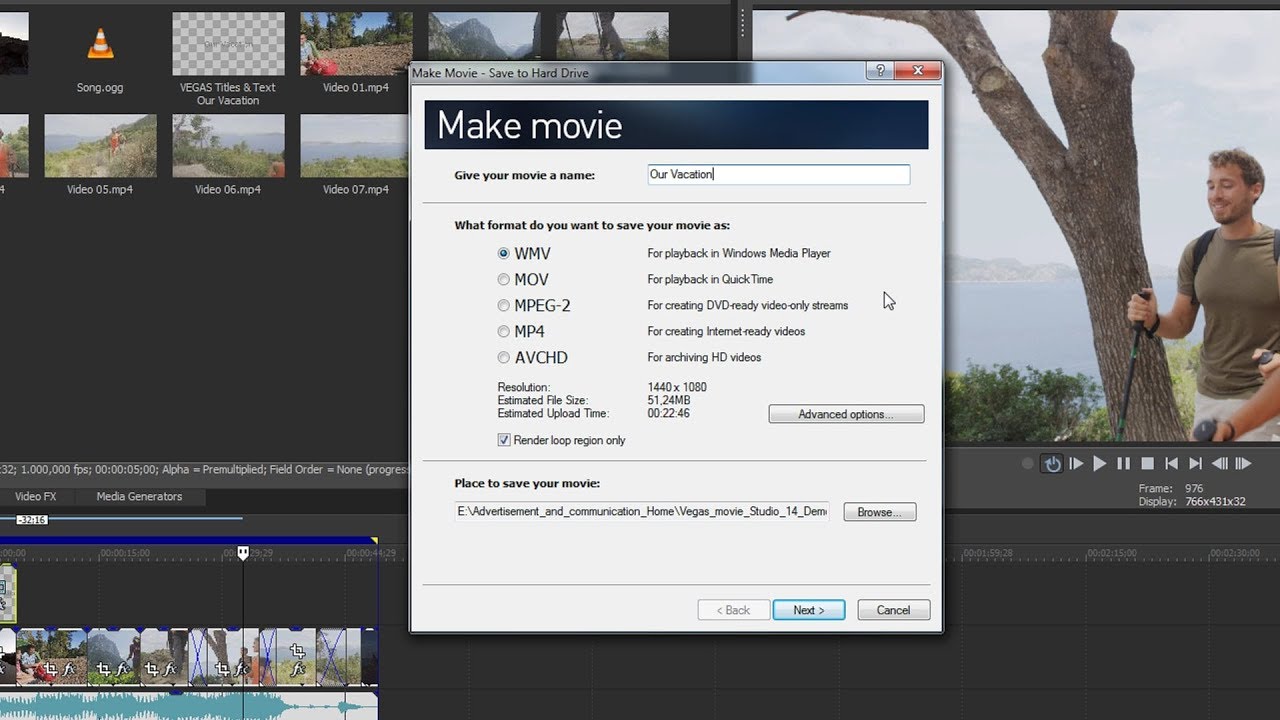
Exporting the Edited Video
IX. Saving Your Project
It's crucial to save your project regularly to avoid any potential loss of data. Click on "File" > "Save" to save your current project file in Sony Vegas' native format. This way, you can continue your work later from where you left off.
X. Conclusion
Learning how to detach audio from video in Sony Vegas is a valuable skill for video editors. By following the step-by-step guide provided above, you can easily separate audio and video tracks and edit them independently.
Remember always to create a backup of your original files before making any modifications and to save your project regularly. With practice, you'll become proficient in video editing and unlock the full potential of Sony Vegas for your creative projects. Happy editing!