How to Change the Song on AirPods: A Step-by-Step Guide
AirPods, Apple's wireless earbuds, offer a seamless and convenient audio experience for music lovers. One of the key features of AirPods is the ability to control music playback directly from the earbuds. In this step-by-step guide, we will walk you through the process of changing the song on AirPods, allowing you to effortlessly switch tracks and enjoy your favorite tunes.
1. Connecting AirPods to Your Device
AirPods
Before you can change the song on your AirPods, ensure that they are properly connected to your device. Open the lid of the AirPods case and place the earbuds in your ears. Make sure Bluetooth is enabled on your device, and the AirPods should automatically connect.
2. Playing Music on Your Device
To change the song on your AirPods, you need to have music playing on your device. Open the music app of your choice (e.g., Apple Music, Spotify, or YouTube) and select a song or playlist to play.
3. Understanding the AirPod Controls
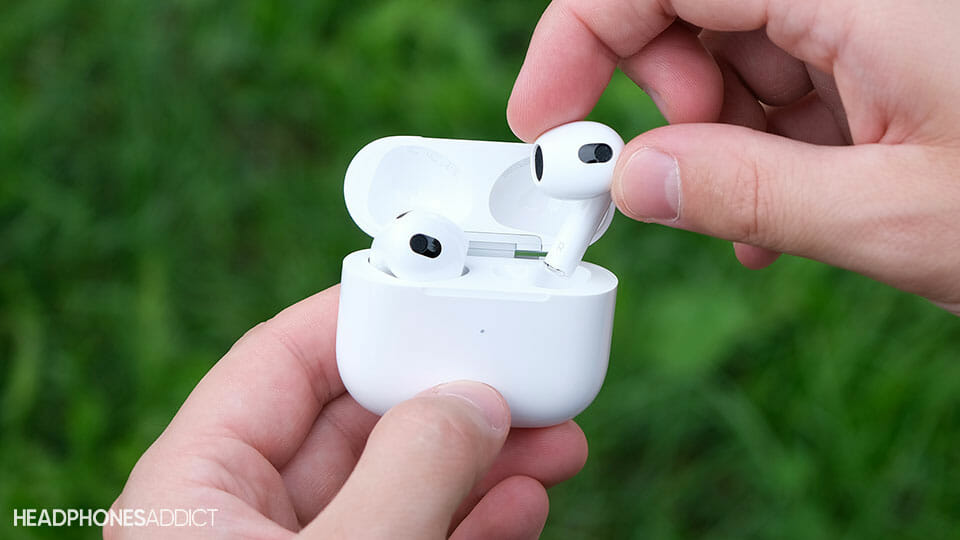
AirPods
AirPods have built-in controls that allow you to perform various actions, including changing songs. There are different control options depending on the AirPods model you have:
AirPods (1st and 2nd generation): Double-tap either AirPod to perform an action.
AirPods Pro and AirPods Max: Press the force sensor located on the stem of either AirPod to perform an action.
4. Changing the Song
To change the song on AirPods, follow these steps based on your AirPods model:
AirPods (1st and 2nd generation): Double-tap either AirPod to pause/play the current song. To skip to the next song, double-tap the right
AirPod. To go back to the previous song, double-tap the left AirPod.
AirPods Pro and AirPods Max: Press the force sensor on the stem of either AirPod to pause/play the current song. To skip to the next song, press the force sensor twice on the right AirPod. To go back to the previous song, press the force sensor twice on the left AirPod.
5. Adjusting Volume and Other Controls
In addition to changing songs, AirPods offer controls for adjusting the volume and performing other actions. Here's how to utilize these controls:
Adjusting volume: To increase the volume, press and hold the force sensor on the right AirPod. To decrease the volume, press and hold the force sensor on the left AirPod.
Activating Siri: Depending on your AirPods model, you can activate Siri by double-tapping or pressing and holding the force sensor on either AirPod. Once Siri is activated, you can ask it to change the song or perform other voice commands.
Customizing controls: You can customize the controls of your AirPods by going to the Bluetooth settings on your device. Look for your AirPods in the list of connected devices, tap on the "i" or gear icon next to it, and then select the desired action for the double-tap or press and hold options.
6. Troubleshooting
If you are experiencing issues changing the song on your AirPods, consider the following troubleshooting steps:
Ensure that your AirPods are properly connected to your device via Bluetooth.
Check that the music app you are using is functioning correctly and is compatible with AirPods controls.
Make sure your AirPods have sufficient battery charge. If the battery is low, charge them using the charging case.
If you have customized the controls of your AirPods, ensure that the desired actions are set correctly.
Changing the song on your AirPods is a simple and convenient process that enhances your music listening experience. By understanding the built-in controls and following the steps outlined in this guide, you can effortlessly switch tracks, adjust the volume, and perform other actions directly from your AirPods. Whether you're on the go, working out, or simply enjoying your favorite tunes, AirPods provide a seamless and wireless music control solution.