How to Unmerge Contacts on iPhone: A Step-by-Step Guide
Having duplicate contacts on your iPhone can be quite a hassle. It not only clutters your address book but also makes it difficult to find and communicate with the right people. Fortunately, there's a solution! In this guide, we'll walk you through the process of unmerging contacts on your iPhone, allowing you to clean up your contact list and streamline your communication. Let's dive in!
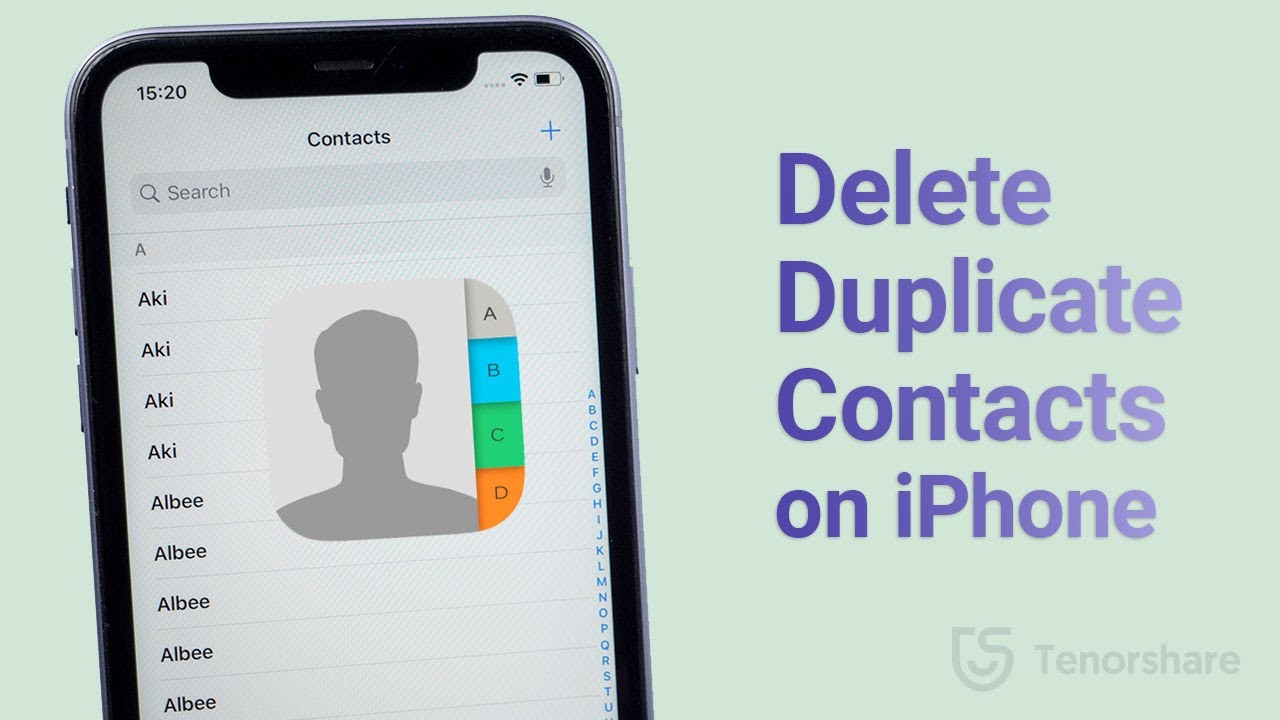
How to delete duplicate contacts on iPhone
1. Accessing the Contacts App
To begin, locate and open the Contacts app on your iPhone.
This app is a built-in feature that comes pre-installed on all iOS devices. Once opened, you'll be able to view your entire contact list.

Contacts App
2. Identifying Merged Contacts
Within the Contacts app, scroll through your list to identify the contacts that have been merged.
Merged contacts usually have the same name but contain multiple phone numbers, email addresses, or other information.
Take note of these merged contacts as you'll be unmerging them in the next steps.
3. Selecting a Merged Contact
Tap on a merged contact that you wish to unmerge.
This will open the contact's details, displaying all the information associated with that particular contact.

Merged Contact
4. Editing Contact Details
Within the contact's details, tap on the "Edit" button located in the top-right corner of the screen.
This will allow you to modify the contact's information and separate it from the merged contact.
5. Unmerging Phone Numbers
To unmerge phone numbers, tap on the blue circled "i" icon next to the phone number you wish to separate.
This will open a new screen where you can edit the phone number details.
6. Separating Email Addresses
If the merged contact contains multiple email addresses, follow a similar process to separate them.
Tap on the blue circled "i" icon next to the email address you want to unmerge, and edit the email details on the subsequent screen.
Email Addresses
7. Saving Changes
After making the necessary modifications to the contact's details, tap on the "Done" button located in the top-right corner.
This will save the changes you've made and unmerge the contact from its duplicates.
8. Repeat the Process
Continue unmerging contacts by repeating steps 3 to 7 for each merged contact in your list.
Take your time to ensure that all necessary modifications are made and that each contact is unmerged successfully.
9. Verifying Unmerged Contacts
Once you have finished unmerging all the contacts, it's essential to verify that the changes have been applied correctly.
Review each contact's details and confirm that they no longer share information with any other contact.
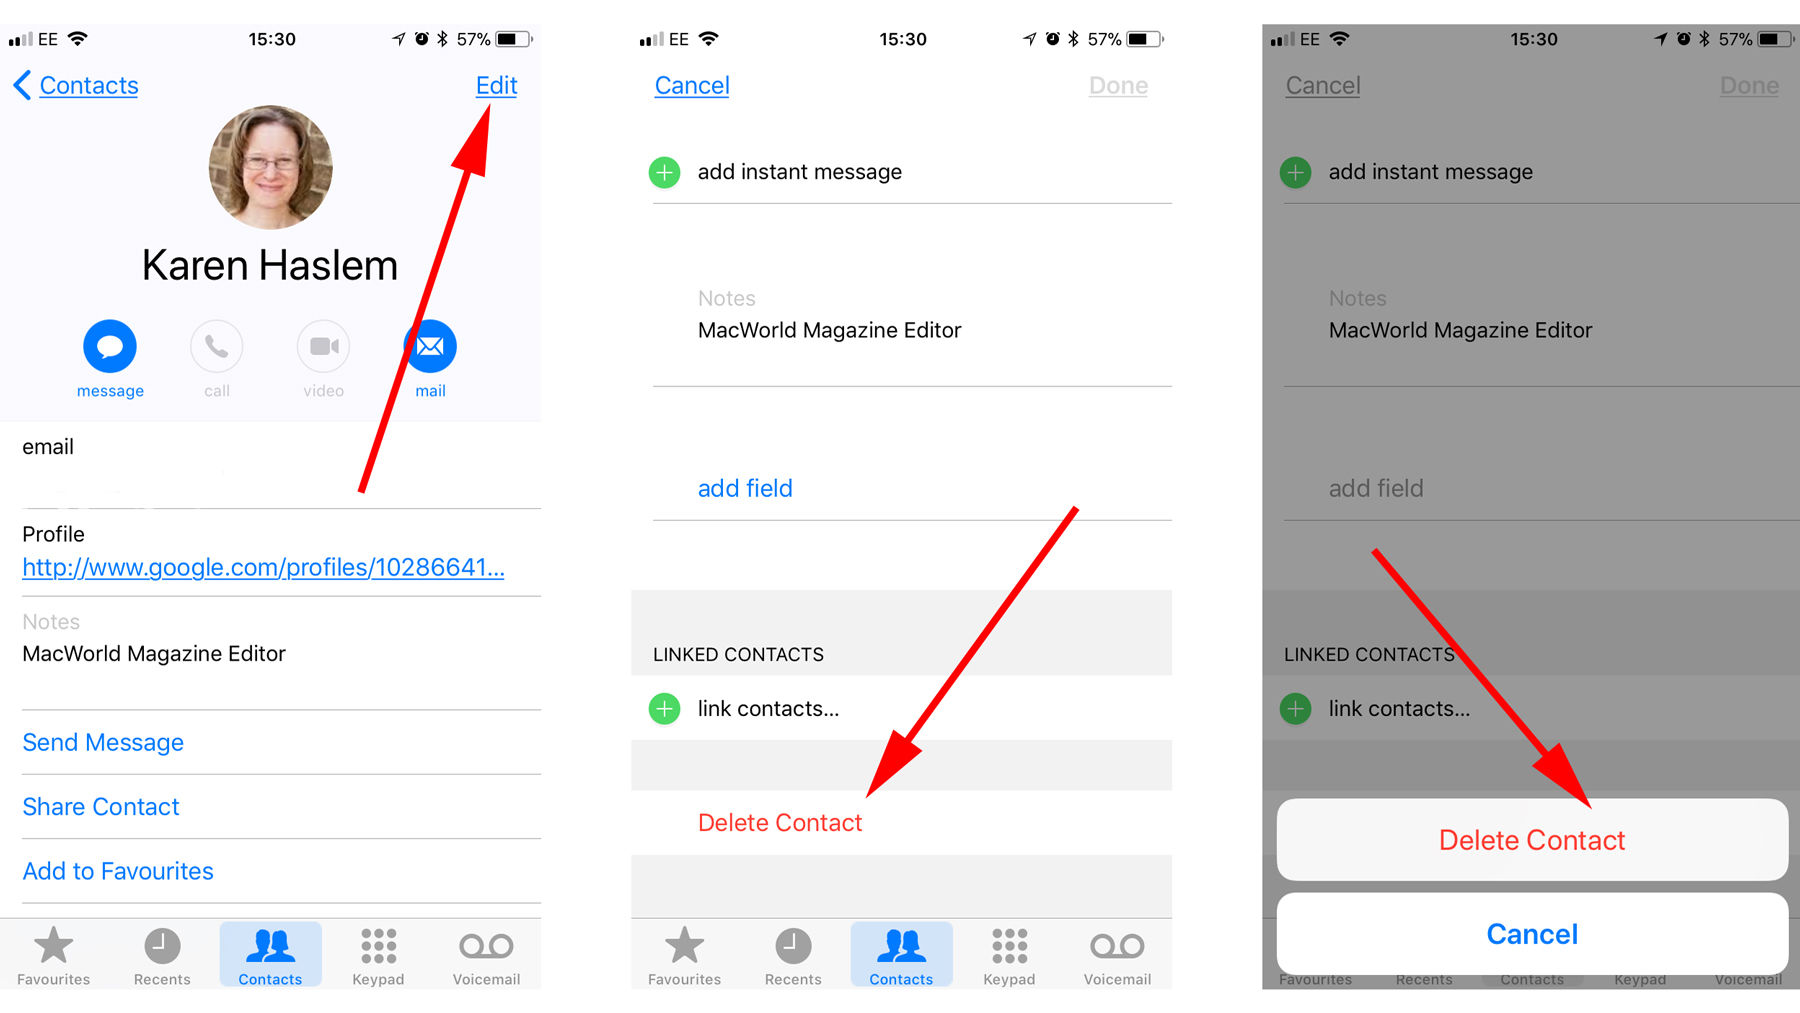
10. Deleting Duplicate Contacts
Now that you have successfully unmerged all the contacts, it's a good practice to delete the duplicate entries.
To delete a contact, open it, tap on the "Edit" button, scroll to the bottom, and select "Delete Contact."
Confirm your choice, and the duplicate contact will be removed.
Deleting Duplicate Contacts
Maintaining a clean and organized contact list on your iPhone is crucial for effective communication. By following this step-by-step guide, you've learned how to unmerge contacts on your iPhone and eliminate duplicates.
Take the time to go through your entire contact list, ensuring that all merged contacts are separated. With your contacts unmerged and duplicates removed, you can now enjoy a streamlined and efficient contact management system on your iPhone.