How to Cancel a Lyft: A Step-by-Step Guide
Ride-sharing services have become increasingly popular over the years, providing convenient transportation options for people around the world. Lyft, one of the leading ride-sharing platforms, offers a user-friendly app that allows you to book rides with just a few taps on your smartphone. However, there may be times when you need to cancel a Lyft for various reasons. In this comprehensive guide, we will walk you through the process of canceling a Lyft ride step-by-step, ensuring a hassle-free experience. Let's get started!

How to Cancel Lyft Ride Without Being Charged
1. Accessing the Lyft App:
To cancel a Lyft, the first step is to open the Lyft app on your smartphone.
Ensure that you have a stable internet connection and log in to your Lyft account.
If you don't have the app installed, you can download it from the App Store (for iOS) or Google Play Store (for Android).
2. Selecting the Ride:
Once you are logged in, you will land on the home screen of the Lyft app.
Here, you will see a map with your current location and available Lyft rides nearby.
Locate the ride you wish to cancel on the map or from the list of available options.
3. Initiating the Cancellation:
After selecting the ride, you will be taken to a screen displaying the details of your ride, including the driver's information, estimated time of arrival, and fare.
To cancel the ride, locate the "Cancel Ride" option on the screen and tap on it.
4. Choosing a Cancellation Reason:
Lyft provides a list of cancellation reasons to help improve their service quality.
Select the most appropriate reason for canceling the ride from the available options. This step is optional but can be helpful in providing feedback to Lyft.

How to Request Multiple Stops on Lyft
5. Confirming the Cancellation:
Once you have selected the cancellation reason, a confirmation prompt will appear on the screen, asking if you are sure you want to cancel the ride.
Review the details once again and tap on the "Cancel Ride" button to proceed with the cancellation.
6. Cancellation Confirmation:
After confirming the cancellation, Lyft will display a confirmation message on the screen.
It will inform you that the ride has been canceled successfully and provide any additional information or instructions, if applicable.
7. Cancellation Fees and Policies:
It is important to note that Lyft may charge a cancellation fee if you cancel a ride after a certain period.
The cancellation fee and the time limit vary depending on your location and the specific Lyft service you are using.
Familiarize yourself with Lyft's cancellation policies to avoid any unexpected charges.
8. Contacting Lyft Support (Optional):
If you encounter any issues during the cancellation process or have questions regarding the cancellation fee, you can reach out to Lyft's customer support.
The Lyft app provides a dedicated "Help" section where you can find FAQs, articles, and contact options to connect with Lyft support representatives.
9. Future Ride Considerations:
After canceling a Lyft, you might need to book another ride. Take a moment to review your transportation needs and book a new ride if necessary.
The Lyft app will allow you to search for available rides and select the most suitable option based on your requirements.
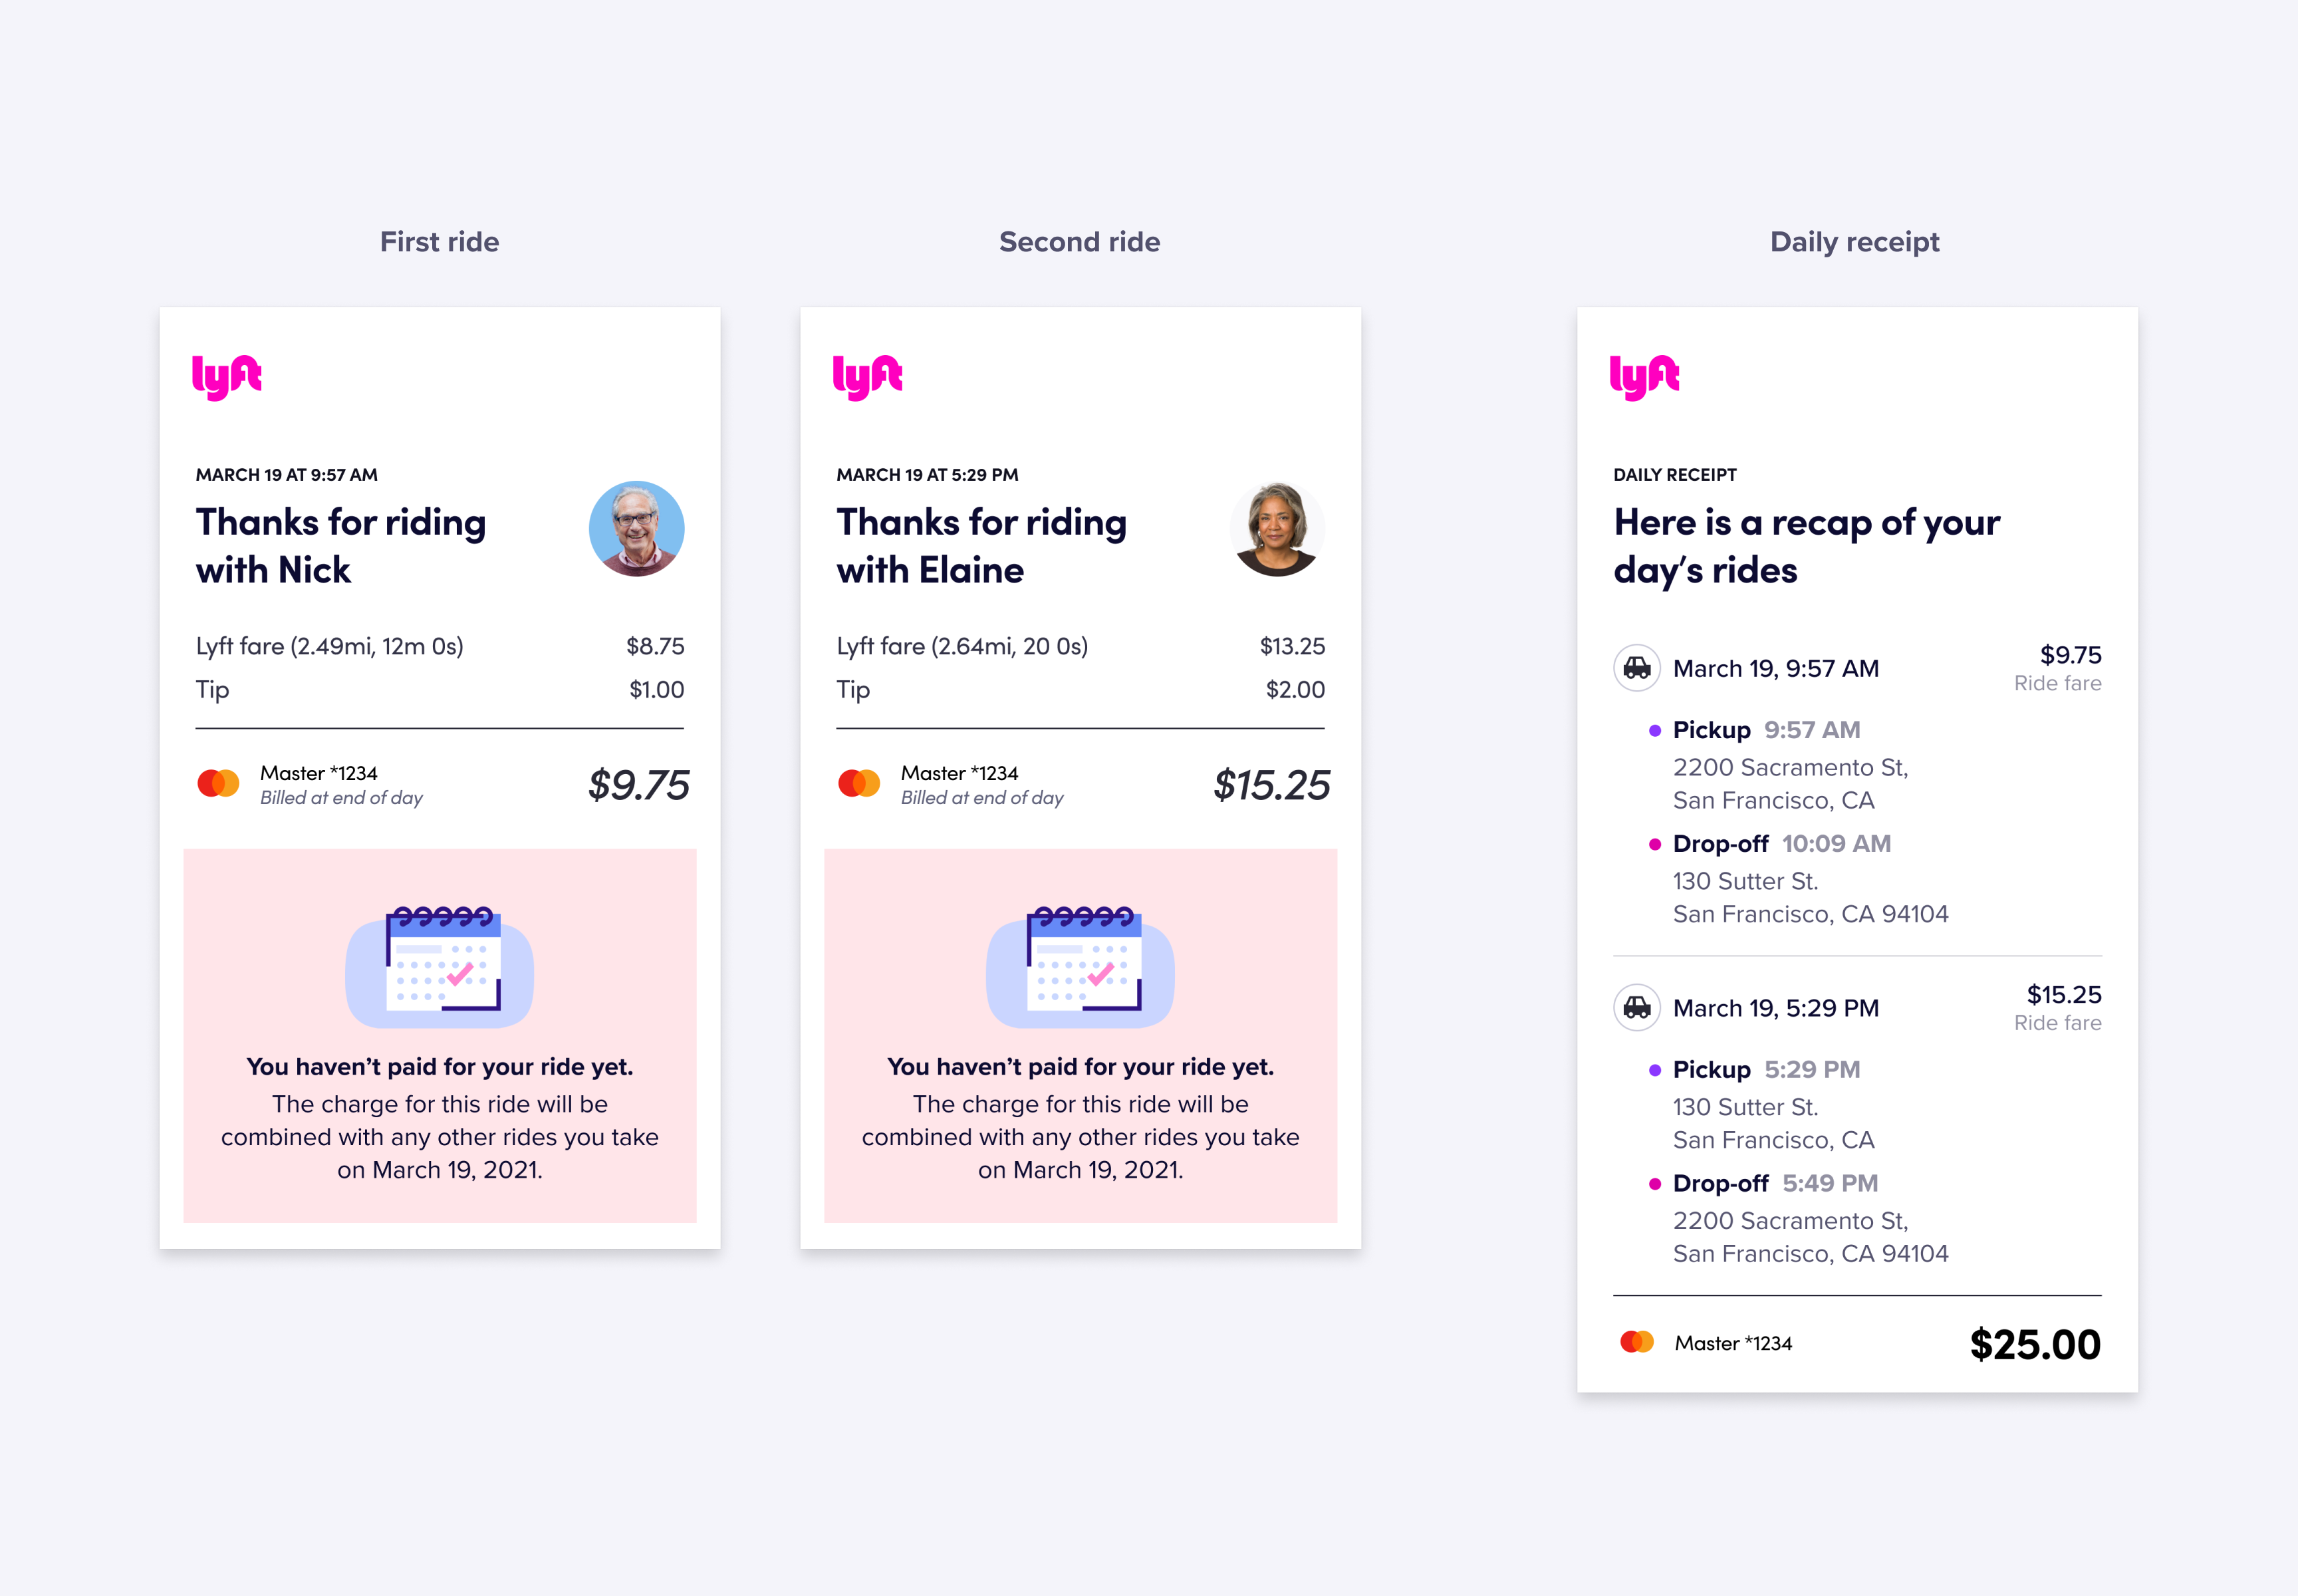
Ride pricing and charges
Canceling a Lyft ride is a straightforward process that can be done through the Lyft app on your smartphone. By following the step-by-step guide provided in this article, you can easily cancel a Lyft ride whenever needed.
Remember to be mindful of Lyft's cancellation policies and fees to avoid any unexpected charges. Should you encounter any difficulties, Lyft's customer support is readily available to assist you. Enjoy the convenience of Lyft's ride-sharing service while maintaining the flexibility to cancel rides when necessary.