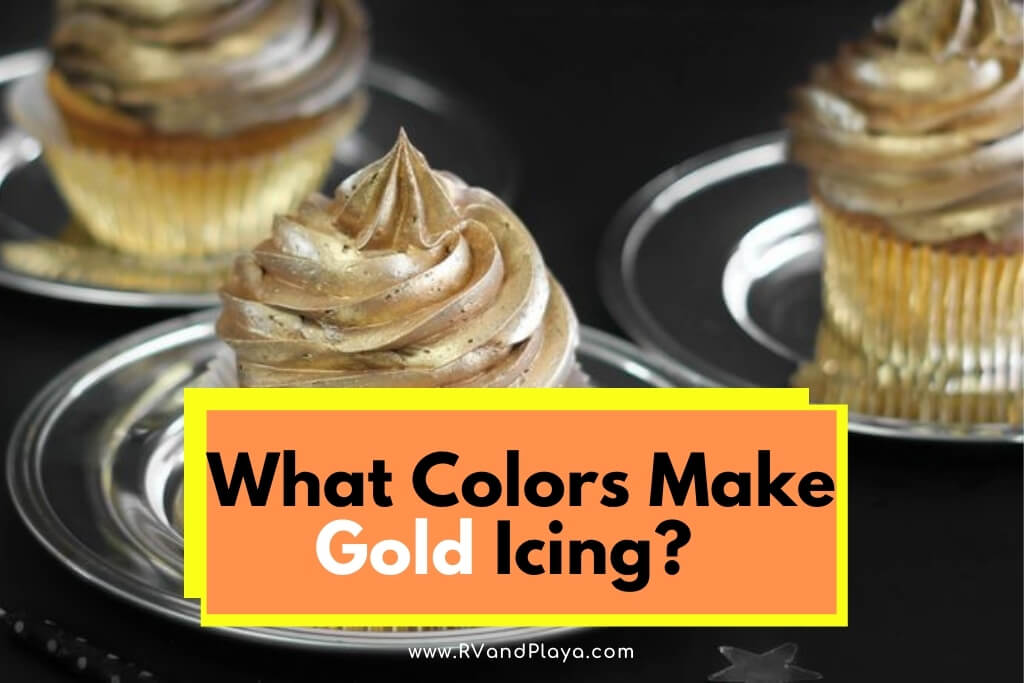
How to Make Gold Icing: A Step-by-Step Guide to Creating Edible Gold Icing
When it comes to decorating cakes, cookies, or other baked goods, gold icing adds a touch of elegance and sophistication. Whether you're planning a wedding cake, a special birthday treat, or simply want to impress your friends and family, learning how to make gold icing can elevate your creations to a whole new level. In this step-by-step guide, we will explore various methods and techniques to achieve stunning gold icing that will surely dazzle your taste buds and eyes.
1. Understanding Gold Icing:
Gold Icing
Before diving into the process, it's essential to understand what gold icing is and how it can be used. Gold icing refers to a shimmering, metallic finish that resembles real gold.
It is commonly used to add a luxurious touch to desserts, especially on special occasions or celebratory events.
2. Gathering the Necessary Ingredients:
To make gold icing, you'll need a few key ingredients. Make sure you have the following items on hand:
Buttercream or royal icing base
Edible gold dust or gold luster dust
Clear alcohol (such as vodka or lemon extract)
Paintbrushes (specifically for food use)
Piping bags or decorating tips (if desired)
3. Preparing the Icing Base:
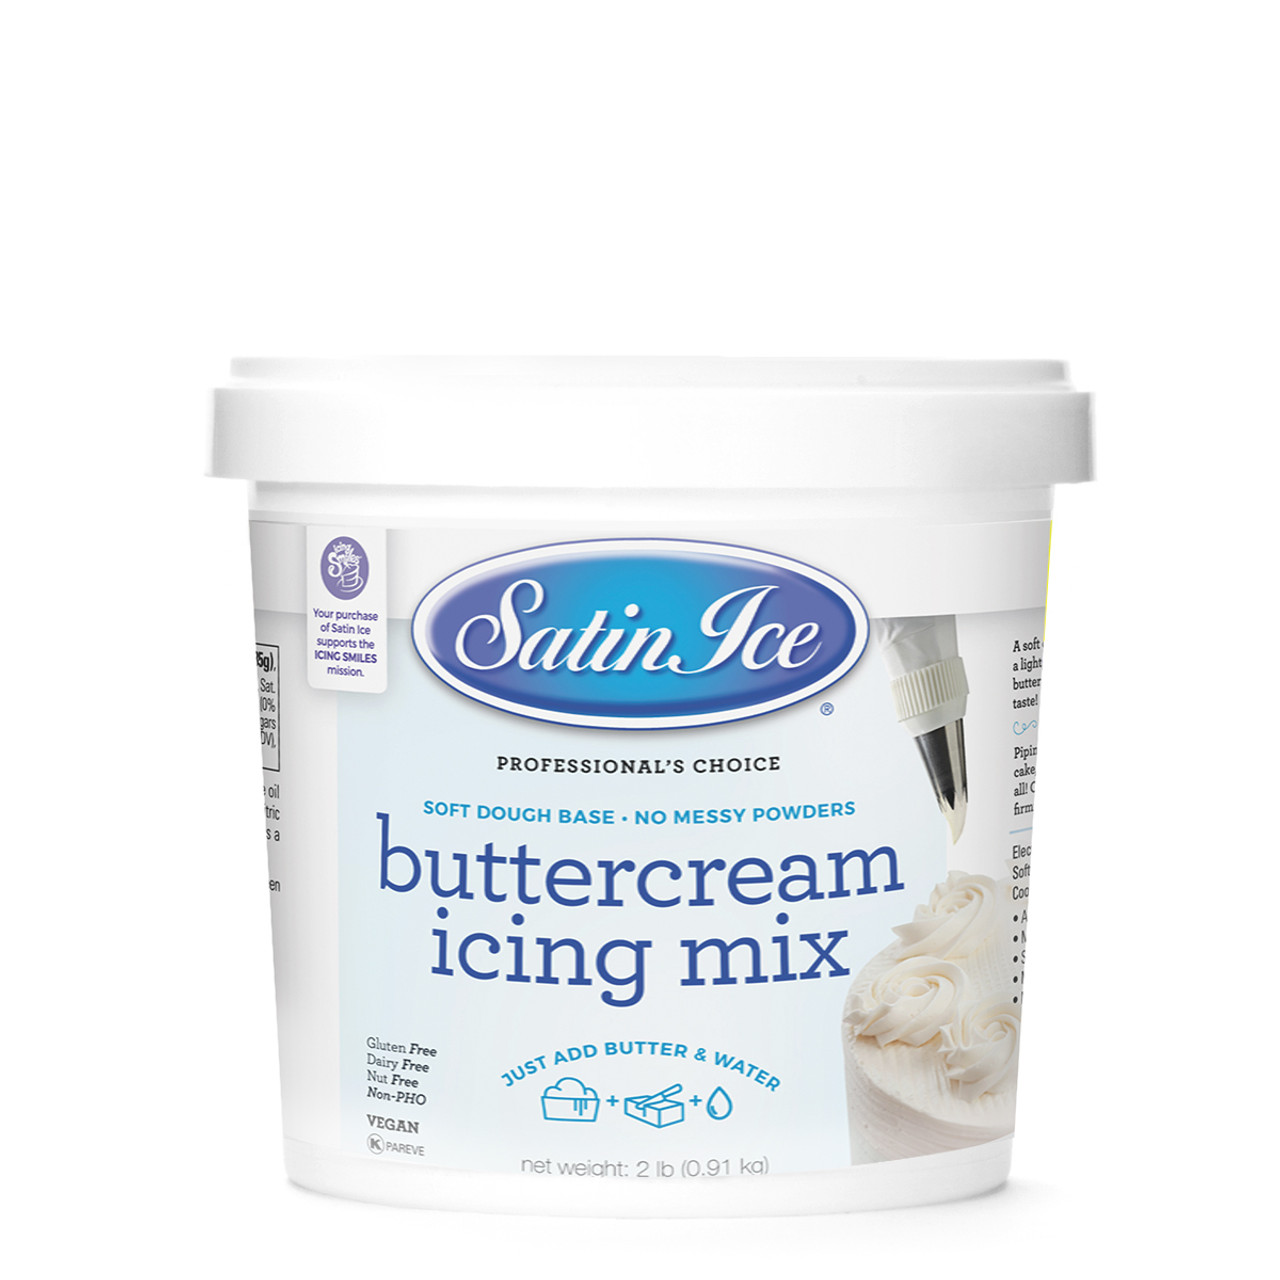
Icing Base
Start by preparing your preferred icing base, either buttercream or royal icing. These bases serve as a canvas for the gold finish. Ensure that your icing is smooth and evenly textured, as it will enhance the final result.
4. Mixing the Edible Gold Dust:
In a small bowl, take a pinch of edible gold dust. Edible gold dust is available in various shades, such as light gold, deep gold, or antique gold.
Depending on the desired intensity, mix the gold dust with a clear alcohol of your choice. Stir the mixture until it forms a smooth, paint-like consistency.
5. Applying Gold Icing:
Using a clean and food-safe paintbrush, gently apply the gold mixture onto your prepared icing base. Start from one corner and work your way across the surface, ensuring even coverage.
Take care not to apply too much pressure or overlap strokes, as it can result in an uneven finish.
6. Adding Texture and Depth:
To add texture and depth to your gold icing, you can experiment with different painting techniques.
For example, you can create a brushed effect by lightly brushing the paintbrush over the surface in one direction. Alternatively, you can dab the brush randomly to achieve a stippled or speckled effect.
7. Letting the Icing Set:
Allow the gold icing to set and dry completely before handling or decorating further. The drying time may vary depending on the type and thickness of your icing. It's recommended to follow the instructions on your chosen icing base for the ideal drying duration.
8. Additional Decorating Options:
Once the gold icing has dried, you can further enhance your creation with additional decorations. Consider piping intricate designs, adding edible pearls, or using fondant accents to complement the gold finish. These extra touches can elevate your dessert's visual appeal.
9. Storing and Serving:
Store your gold-iced creations in a cool, dry place, preferably in an airtight container to maintain their freshness and shine. Remember that gold icing is meant for decorative purposes and is entirely edible.
When serving, inform your guests about the presence of gold dust and advise them to consume it responsibly.
Creating gold icing opens up a world of possibilities for creating stunning and luxurious desserts. By following this step-by-step guide, you now have the knowledge and techniques to make your own dazzling gold icing. Experiment with different shades of gold and various painting techniques to achieve unique and eye-catching designs. With practice, you'll be able to master the art of gold icing and create show-stopping treats that are sure to impress everyone who tastes them. So, get your brushes ready and start transforming your desserts into edible works of art!